Massive Slim-Down for NAS Storage - Photo and Video Compression Solutions
In a previous article, Choosing a Home NAS: Synology, Mini PC, or Secondhand Bargains? , I mentioned that the important family data stored on my home NAS had reached 1000GB, primarily consisting of years of accumulated photos and videos totaling around 200,000 files. While this isn't an enormous amount of storage, migrating it was quite a hassle—copying numerous small files via an external hard drive took hours. To address this issue and make future management easier, I drew on my experience from the Hugo and Soomal projects to implement a major slim-down of my NAS files, saving 75% of the space.
Cleaning Up Duplicate Files
My previous backup routine for photos and videos was basically performing cold backups to NAS once or twice a year, typically during holidays like Chinese New Year or National Day, or when switching phones. I would dump all photos and videos from my phone to the NAS via an external hard drive.
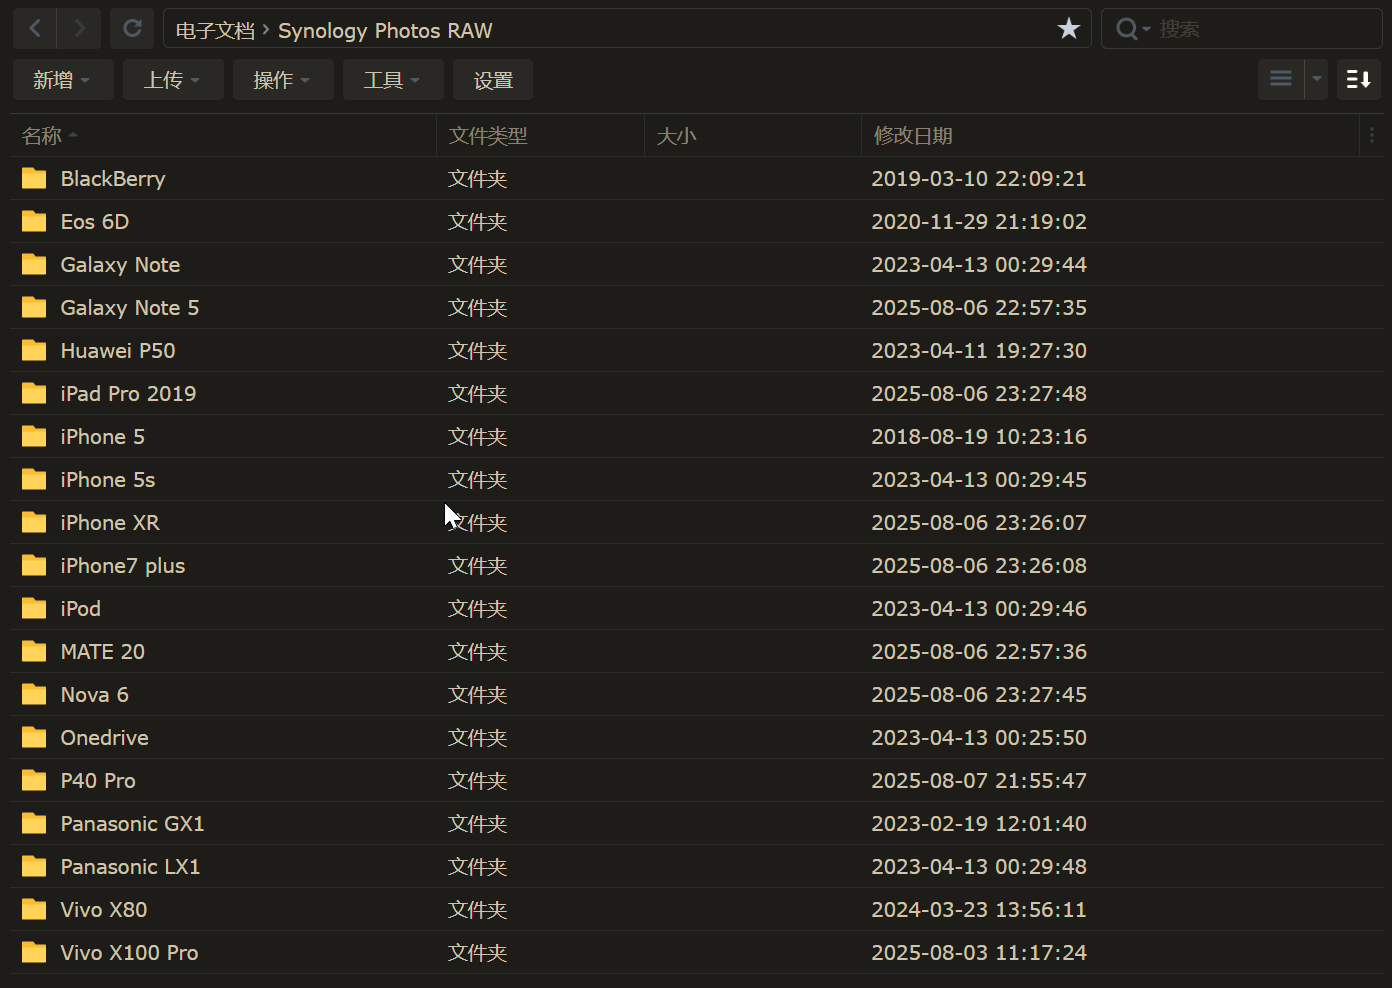
One troublesome issue in this process is that every time I switch phones, I transfer photos and videos from the old phone to the new one, while many of these files already exist in the NAS backup. In such cases, if I were more diligent during backup, I would consider deleting duplicate files. But often being lazy, I don't bother, resulting in many duplicate versions accumulating in the NAS.
There are typically three methods to clean up duplicate files in a Synology NAS:
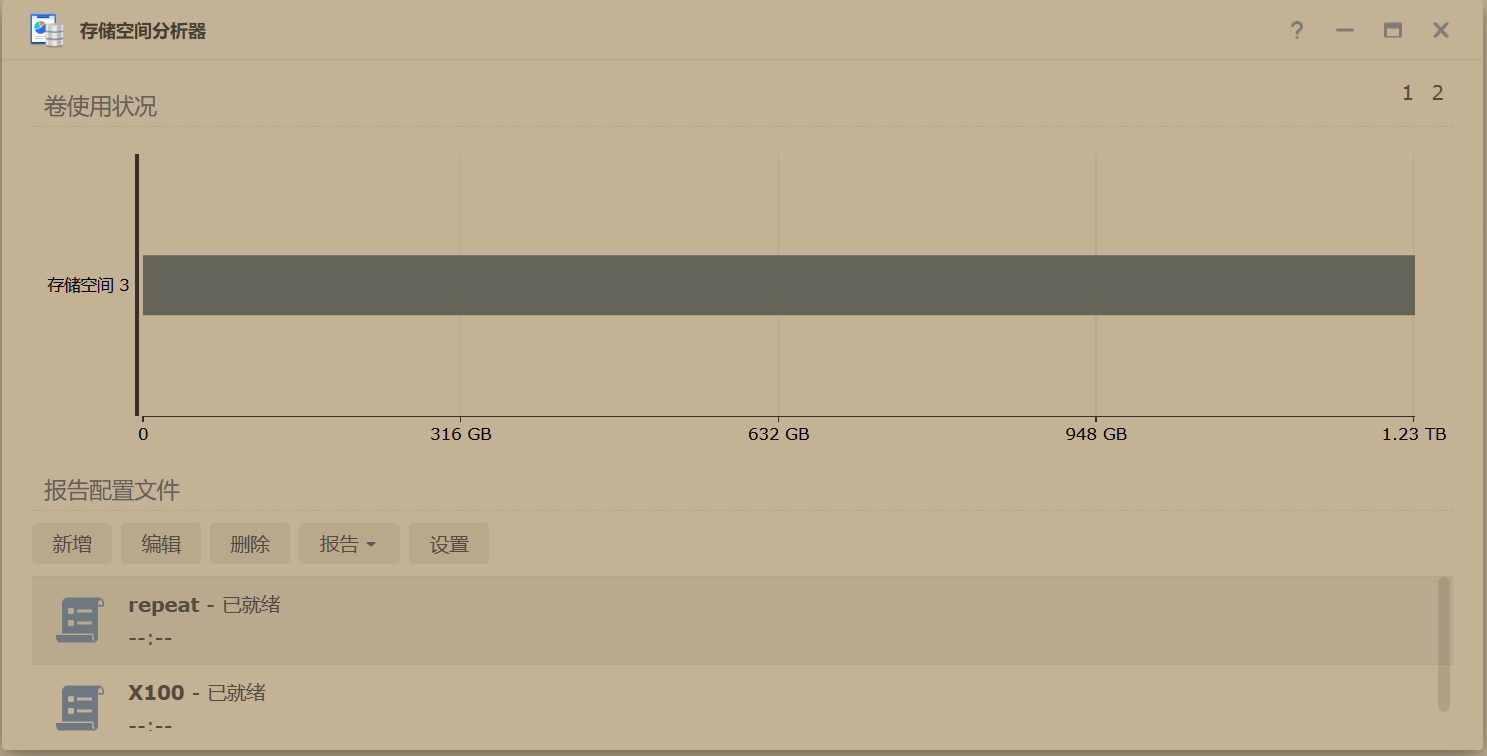
- Synology's built-in Storage Analyzer. Open Synology's Storage Analyzer, search for "potential duplicate files," which usually outputs a CSV file listing duplicates. Export the files to be deleted as a TXT file, then use the command
cat /volume3/video/delete.txt | xargs -I {} rm -f "{}"in "Task Scheduler" to remove the duplicates.
This method is only suitable when there are few duplicate files. For example, my Synology can only find 5,000 duplicate files at a time. If the number significantly exceeds this limit, it's not very practical since each search takes considerable time.
Third-party tools. There are several useful duplicate file deletion tools in Synology's third-party app market, such as dupeGuru and fdupes. I downloaded and tested them, but the search speed was too slow, mainly because my Synology's CPU performance is too low - it didn't produce results even after hours. Additionally, this method isn't very intuitive, and the setup can be troublesome if you're unsure about how duplicate files are identified.
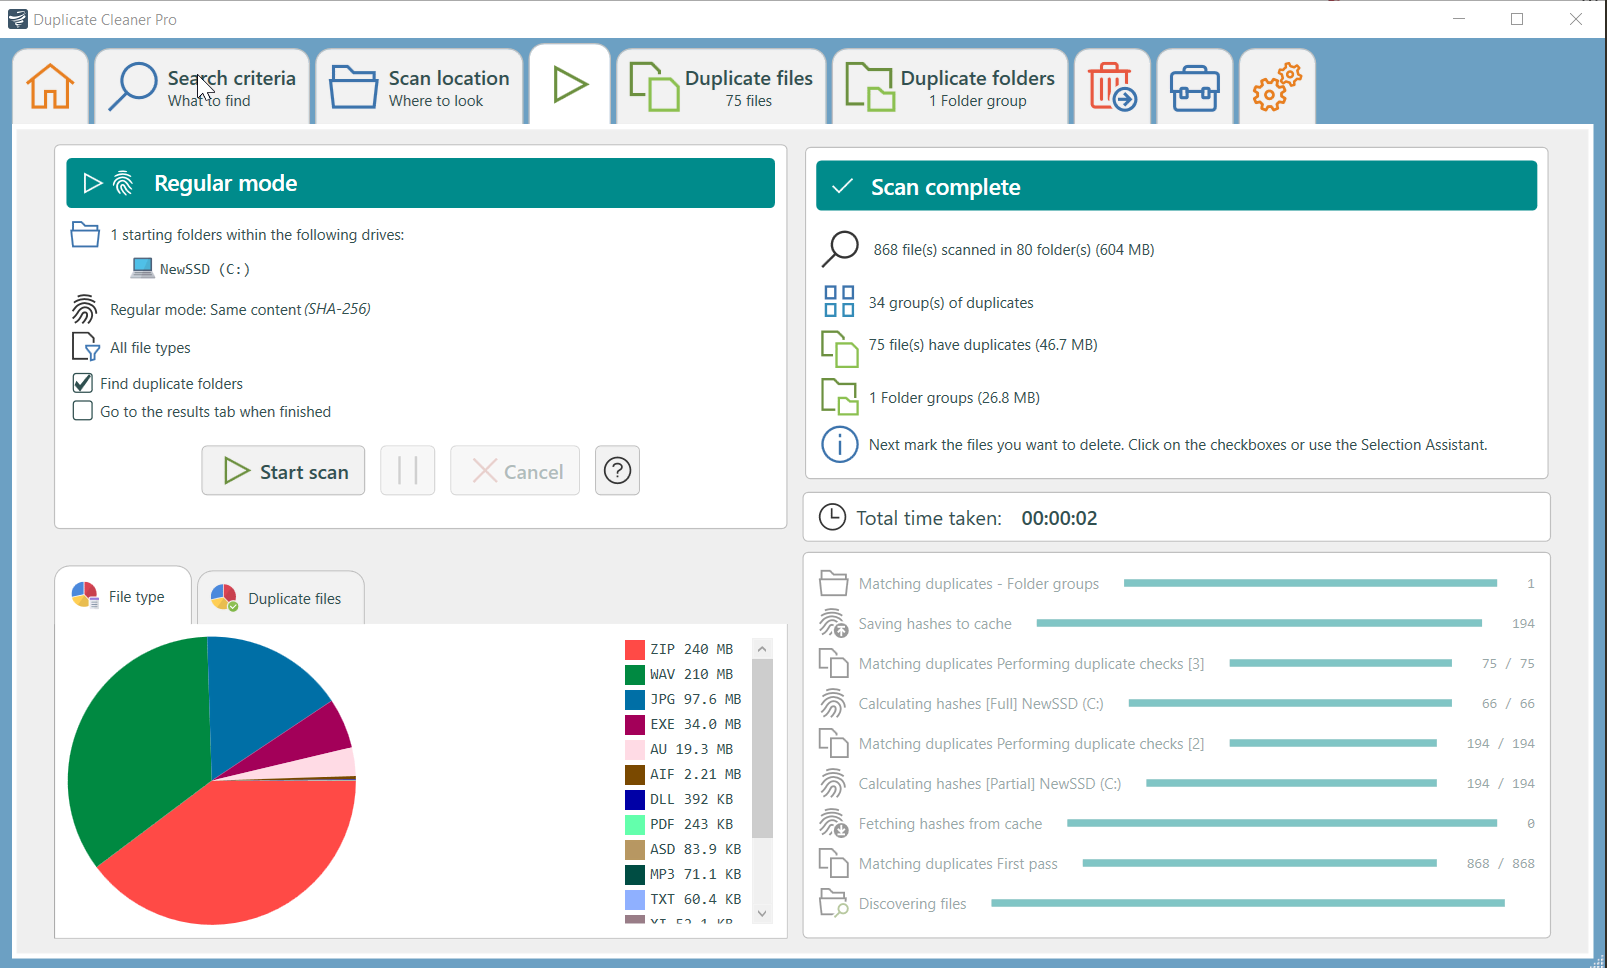
Windows duplicate file deletion software. Mount the files and use a Windows PC's CPU and software to find duplicates. I used Duplicate Cleaner to perform multiple duplicate deletion operations, including: a. Finding files with the same MD5; b. Finding files with similar names and sizes; c. Finding files with similar content; d. Using image mode.
The process wasn't easy. Initially, I used the duplicate filename mode but found that many phones use the same naming convention (e.g., photos named IMG_001.jpg from five different devices), leading to many filename collisions. Additionally, some files were renamed during transfers (e.g., from IMG_001.jpg to a random string of numbers), and their MD5 hashes also differed. Moreover, many files lost their EXIF data due to transfers via WeChat, making similar photos differ slightly in data and requiring the duplicate matching sensitivity to be set to the lowest. There were also many Live Photo files saved differently—some as a single file, others as two files—likely due to Synology's varying support strategies for Apple and Android Live Photo formats over time.
After cleaning up duplicates, my NAS storage for photos and videos dropped to 817 GB.

Converting Photos to WEBP Format
Batch converting images to WEBP isn't new to me. Last year, I converted all images on my website to WEBP, and a few months ago, I converted nearly 100,000 photos on Soomal.cc to WEBP.
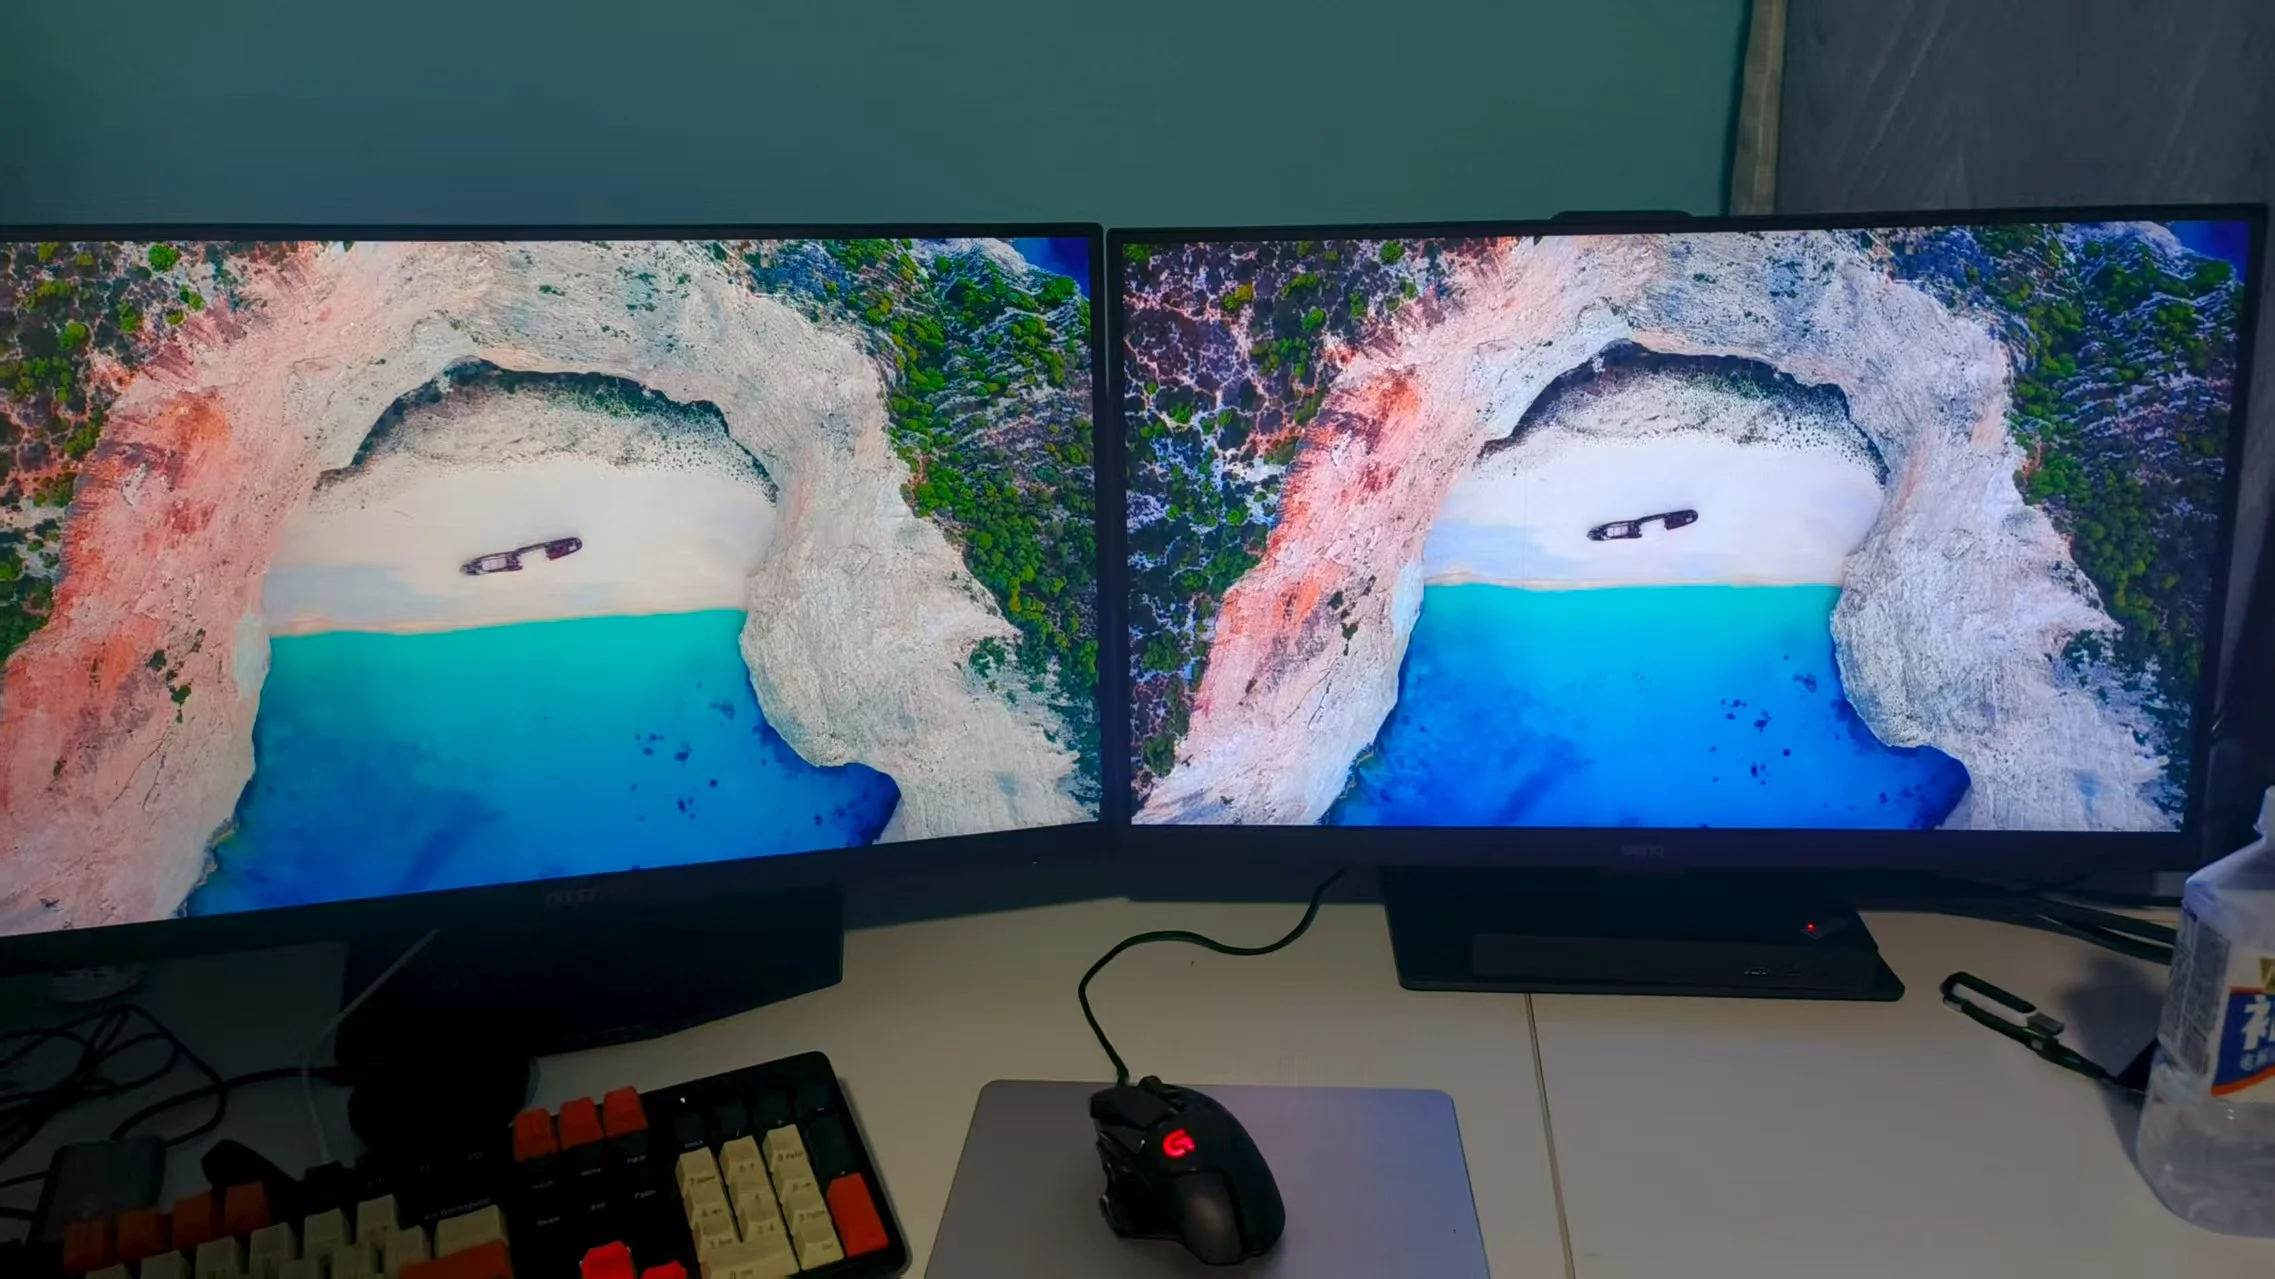
I highly favor the WEBP format. Even when converting JPG to WEBP at just 70% quality, the visual difference is barely noticeable. To be safe this time, I set the quality to 85%. Comparing test images on two 4K monitors showed no discernible difference—though this might be due to my color blindness. I even asked my child to check, and she only noted slightly lighter colors without seeing any significant difference.
Since the difference is minimal, I had no reservations about converting all NAS files to WEBP. Even if WEBP colors aren't as rich as JPG, a phone album's AI filter can easily fix that. Meanwhile, the storage savings are three to fourfold.
Previously, I used a simple conversion script written with ChatGPT's help. This time, it's similar:
 1@echo off
 2setlocal enabledelayedexpansion
 3
 4for /r %%i in (*.jpg *.jpeg *.png) do (
 5    set "newFile=%%~dpi%%~ni.webp"
 6    cwebp -q 85 "%%i" -o "!newFile!"
 7    del "%%i"
 8    rename "!newFile!" "%%~nxi"
 9    echo Converted %%i to "%%~nxi"
10)
11
12echo All images converted and originals deleted.
13pause
However, this time I also needed to handle RW2, CR2, HEIC, and other formats while ensuring EXIF data isn't lost. The script is slightly more complex, but AI can generate it correctly with proper prompts.
Converting Videos to H265 Encoding
Many videos in my family storage are in their original camera formats, often older, high-bitrate MP4 or MOV files. I decided to slim them down.
Initially, I considered AV1 encoding since it can reduce file sizes by four to five times. However, two issues arose: first, my RTX 2080 GPU doesn't support AV1 hardware decoding, making CPU-based software decoding painfully slow; second, my FeiNiu NAS's i3-8300T CPU also lacks AV1 hardware decoding, complicating future playback.
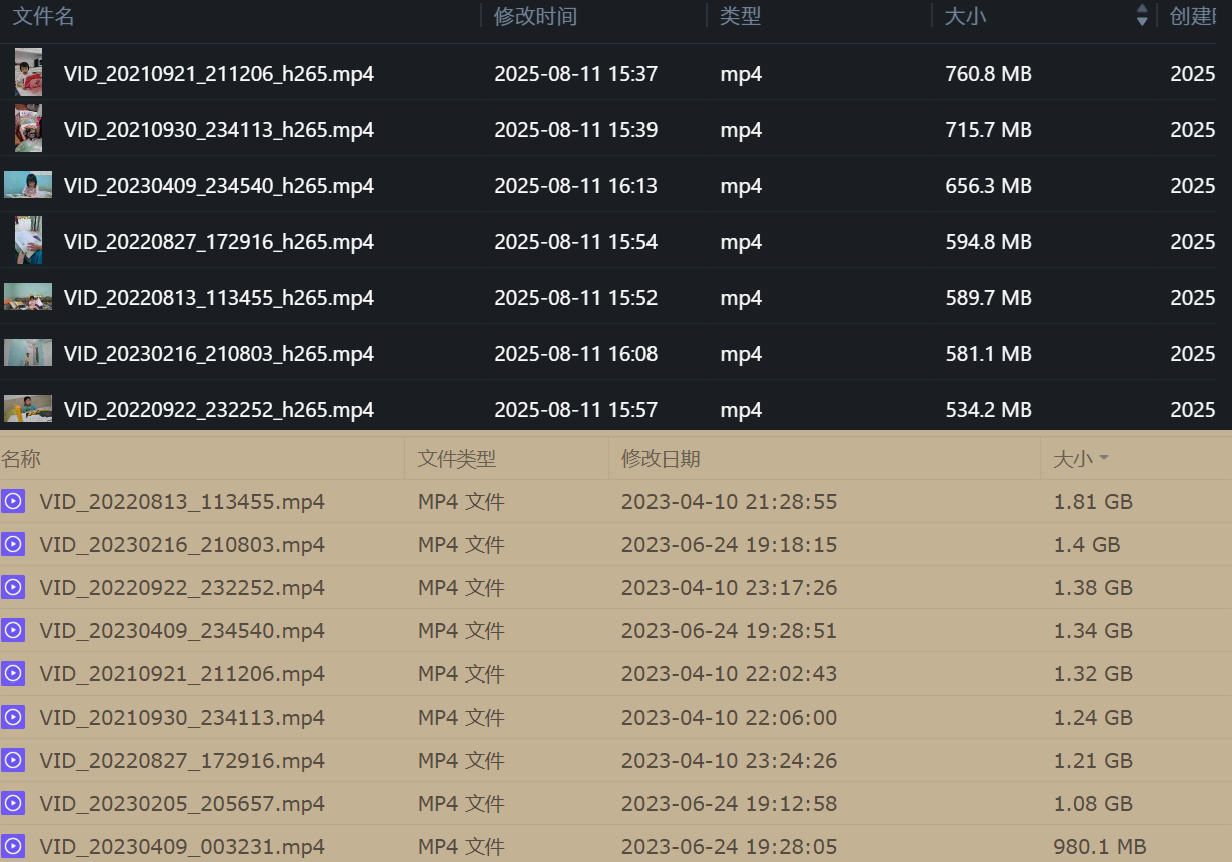
Ultimately, I opted for the more conservative H265 encoding. Surprisingly, the results were excellent—even newer H264 videos could be halved in size when converted to H265.
This conversion can also be done using AI-written scripts, with a few considerations: 1. Utilize GPU acceleration; 2. Preserve original video EXIF data; 3. Test before full conversion. During testing, I found EXIF handling slightly tricky since GPUs can't process it by default. I resolved this by splitting the process: first converting the video, then using another script to copy EXIF data from the source to the converted file.
Example conversion script:
 1import subprocess
 2import os
 3
 4def convert_to_h265(input_file, output_file, crf=28, preset='fast'):
 5    """
 6    Convert video to H.265 using FFmpeg and NVIDIA GPU
 7
 8    Args:
 9        input_file: Input video path (MOV/MP4 etc.)
10        output_file: Output path (use .mp4 suffix)
11        crf: Quality parameter (18-28, lower is better)
12        preset: Encoding speed (slow, medium, fast)
13    """
14    if not os.path.exists(input_file):
15        raise FileNotFoundError(f"Input file not found: {input_file}")
16
17    # FFmpeg command
18    cmd = [
19        'ffmpeg',
20        '-i', input_file,                        # Input file
21        '-c:v', 'hevc_nvenc',                    # NVIDIA HEVC encoder
22        '-preset', preset,                       # Encoding speed
23        '-rc', 'vbr',                            # Variable bitrate mode
24        '-cq', str(crf),                         # Quality parameter (like CRF)
25        '-qmin', '0',                            # Min quantizer
26        '-qmax', '51',                           # Max quantizer
27        '-b:v', '0',                             # No target bitrate
28        '-profile:v', 'main',                    # H.265 profile
29        '-tune', 'hq',                           # High-quality tuning
30        '-movflags', '+faststart',               # Streaming optimization
31        '-c:a', 'aac',                           # Audio codec
32        '-b:a', '128k',                          # Audio bitrate
33        output_file
34    ]
35
36    try:
37        # Execute command
38        subprocess.run(cmd, check=True)
39        print(f"Conversion successful: {output_file}")
40    except subprocess.CalledProcessError as e:
41        print(f"Conversion failed: {e}")
42    except Exception as e:
43        print(f"Error occurred: {e}")
44
45# Example usage
46if __name__ == "__main__":
47    input_video = "input.mov"       # Replace with your input
48    output_video = "output_h265.mp4" # Output filename
49
50    convert_to_h265(input_video, output_video, crf=23, preset='fast')
Conversion Results
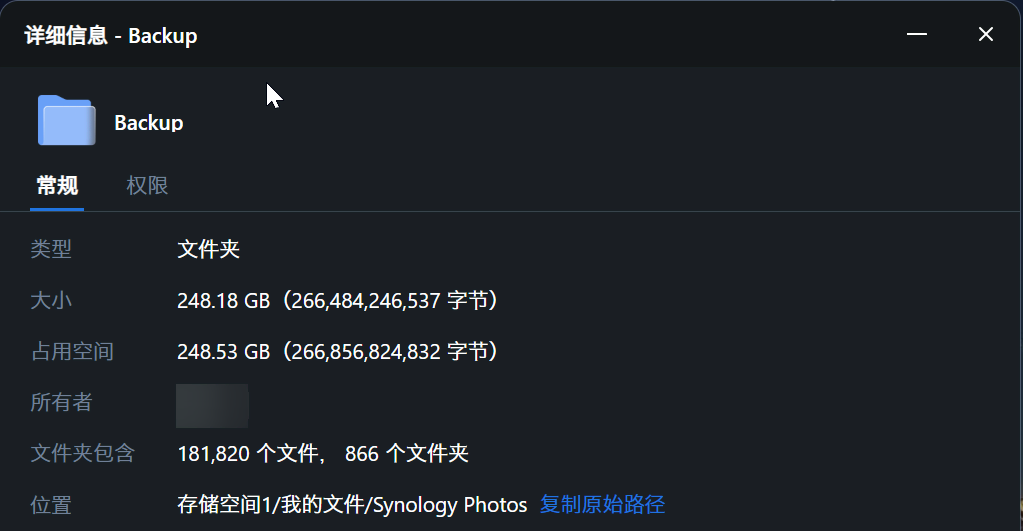
After converting images and videos to more efficient formats, my original 817 GB photo and video library shrank to 248 GB.
This size allows me to back up the data across various storage solutions—PC, phone, external drives, Synology, FeiNiu NAS, and OneDrive—significantly improving data reliability.
I also kept a copy of the original files on an external drive and the Synology NAS, though this might be unnecessary.
Years ago, I shot many photos with Canon and Panasonic in RAW format, thinking I'd edit them later in Photoshop or Lightroom. However, I haven't installed any Adobe software in over five years. There's no need to fuss over RAW files anymore—a lightweight format edited on a tablet or phone suffices. Worse comes to worst, AI photo restoration can salvage even poor-quality images. Since the current formats show no significant difference from the originals, I'm at ease.
GPS Data in EXIF Issue
During conversion, I accidentally introduced a bug: in FeiNiu Photos, only videos' GPS data appeared on the map, while all WEBP images failed to display locations.
Initially, checking EXIF in FeiNiu's file manager showed no issues—both videos (displayed on maps) and images (not displayed) had GPS data. Testing on MT Photos, Synology, and mobile phones revealed no problems; WEBP photos loaded correctly on maps everywhere except FeiNiu. I assumed it was a FeiNiu bug since other platforms worked fine.
After reporting it on the official forum, developers requested sample files for testing. While uploading samples, I noticed a difference in FeiNiu's detailed EXIF view (the file manager only shows brief EXIF info):
1# Original file
2"GPSLatitude": "23 deg 7' 47.54\" N",
3"GPSLongitude": "112 deg 34' 56.19\" E",
4"GPSPosition": "23 deg 7' 47.54\" N, 112 deg 34' 56.19\" E"
5
6# Converted file
7"GPSLatitude": "23 deg 7' 47.54\"",
8"GPSLongitude": "112 deg 34' 56.19\"",
9"GPSPosition": "23 deg 7' 47.54\", 112 deg 34' 56.19\"",
The converted WEBP files lost the directional indicators (N, E, S, W) in their GPS data. Other software likely auto-filled these based on region, but FeiNiu didn't, making the locations unreadable.
The fix was straightforward. Since all photos were taken in China, I auto-filled "N" (North) for latitude and "E" (East) for longitude. Enabling CPU multithreading during conversion processed 70,000 photos in 30 minutes on my AMD 9700X (8-core, 16-thread). After conversion, I incrementally backed up the photos to an external drive, then to Synology and FeiNiu NAS.