Recently, Lawtee decided to upgrade the Nezha probe because the communication domain required for the previous V0 version was about to expire. Although such probes may seem like “harmless” little tools, they generally carry significant security risks. If compromised, all servers connected to the probe would undoubtedly be “taken out in one go.” Therefore, while upgrading the probe, Lawtee also added some basic protection measures.
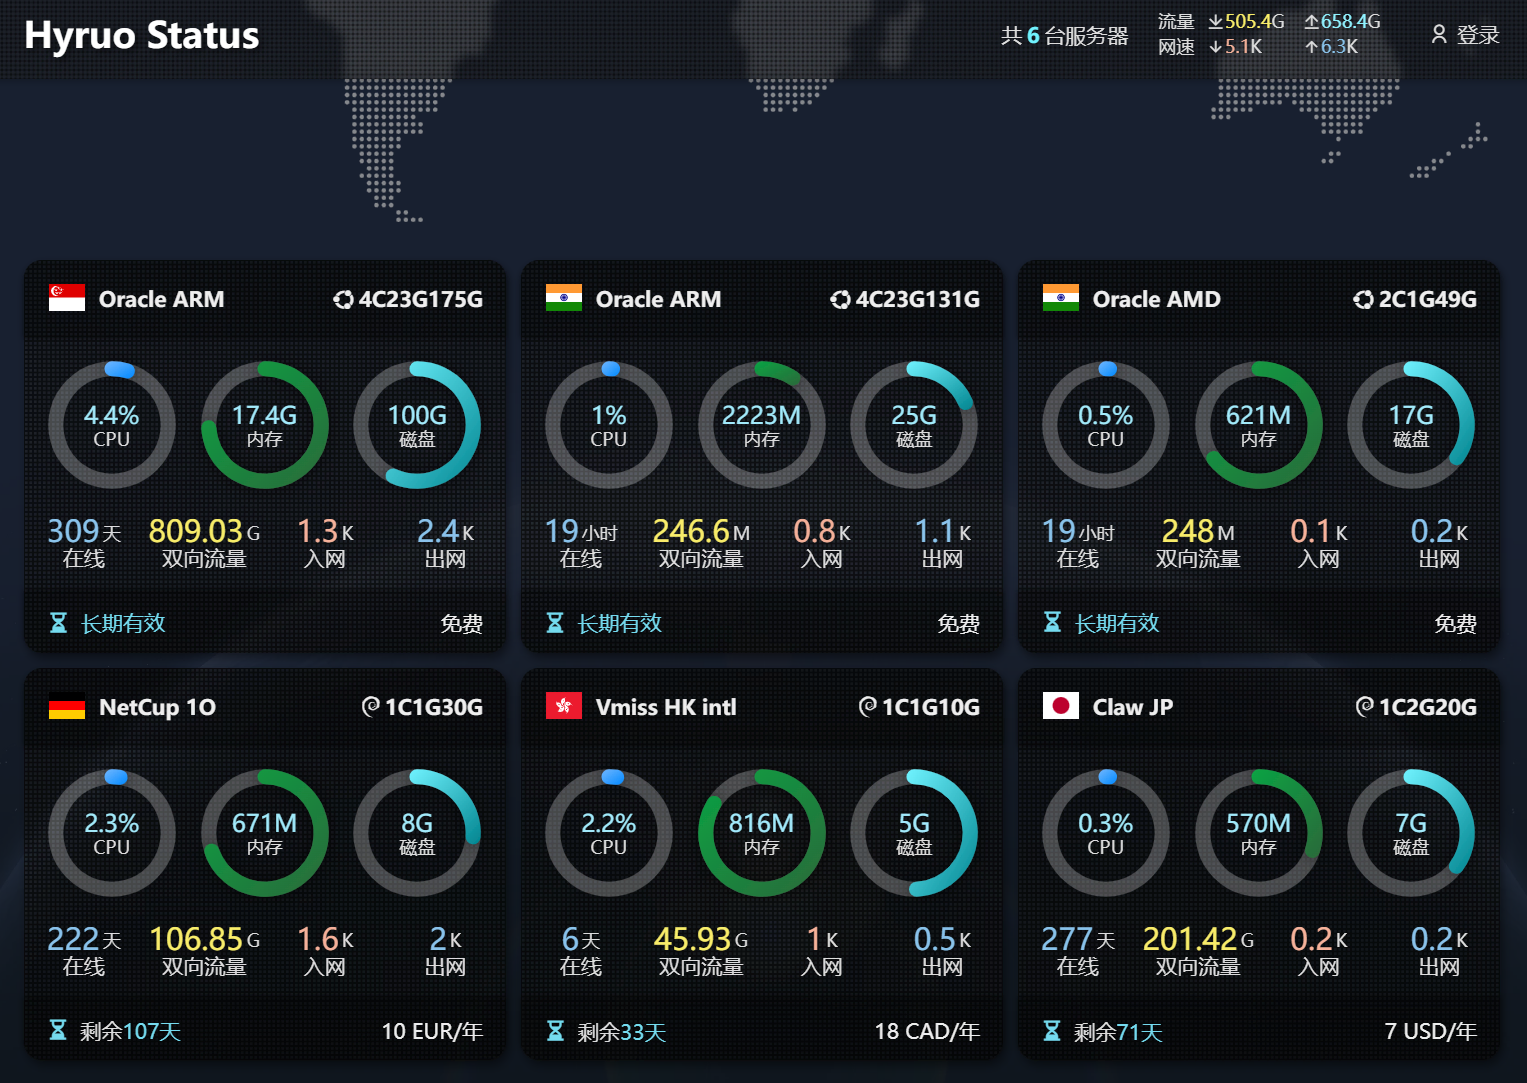
Overview of the Nezha Probe
Compared to the V0 version of the Nezha probe, the communication domain used between servers in the earlier version was essentially “exposed,” making it impossible to use CDN for origin protection. The only workaround was to use different domains as much as possible. In contrast, the V1 version of the probe natively supports Cloudflare CDN, significantly improving security.
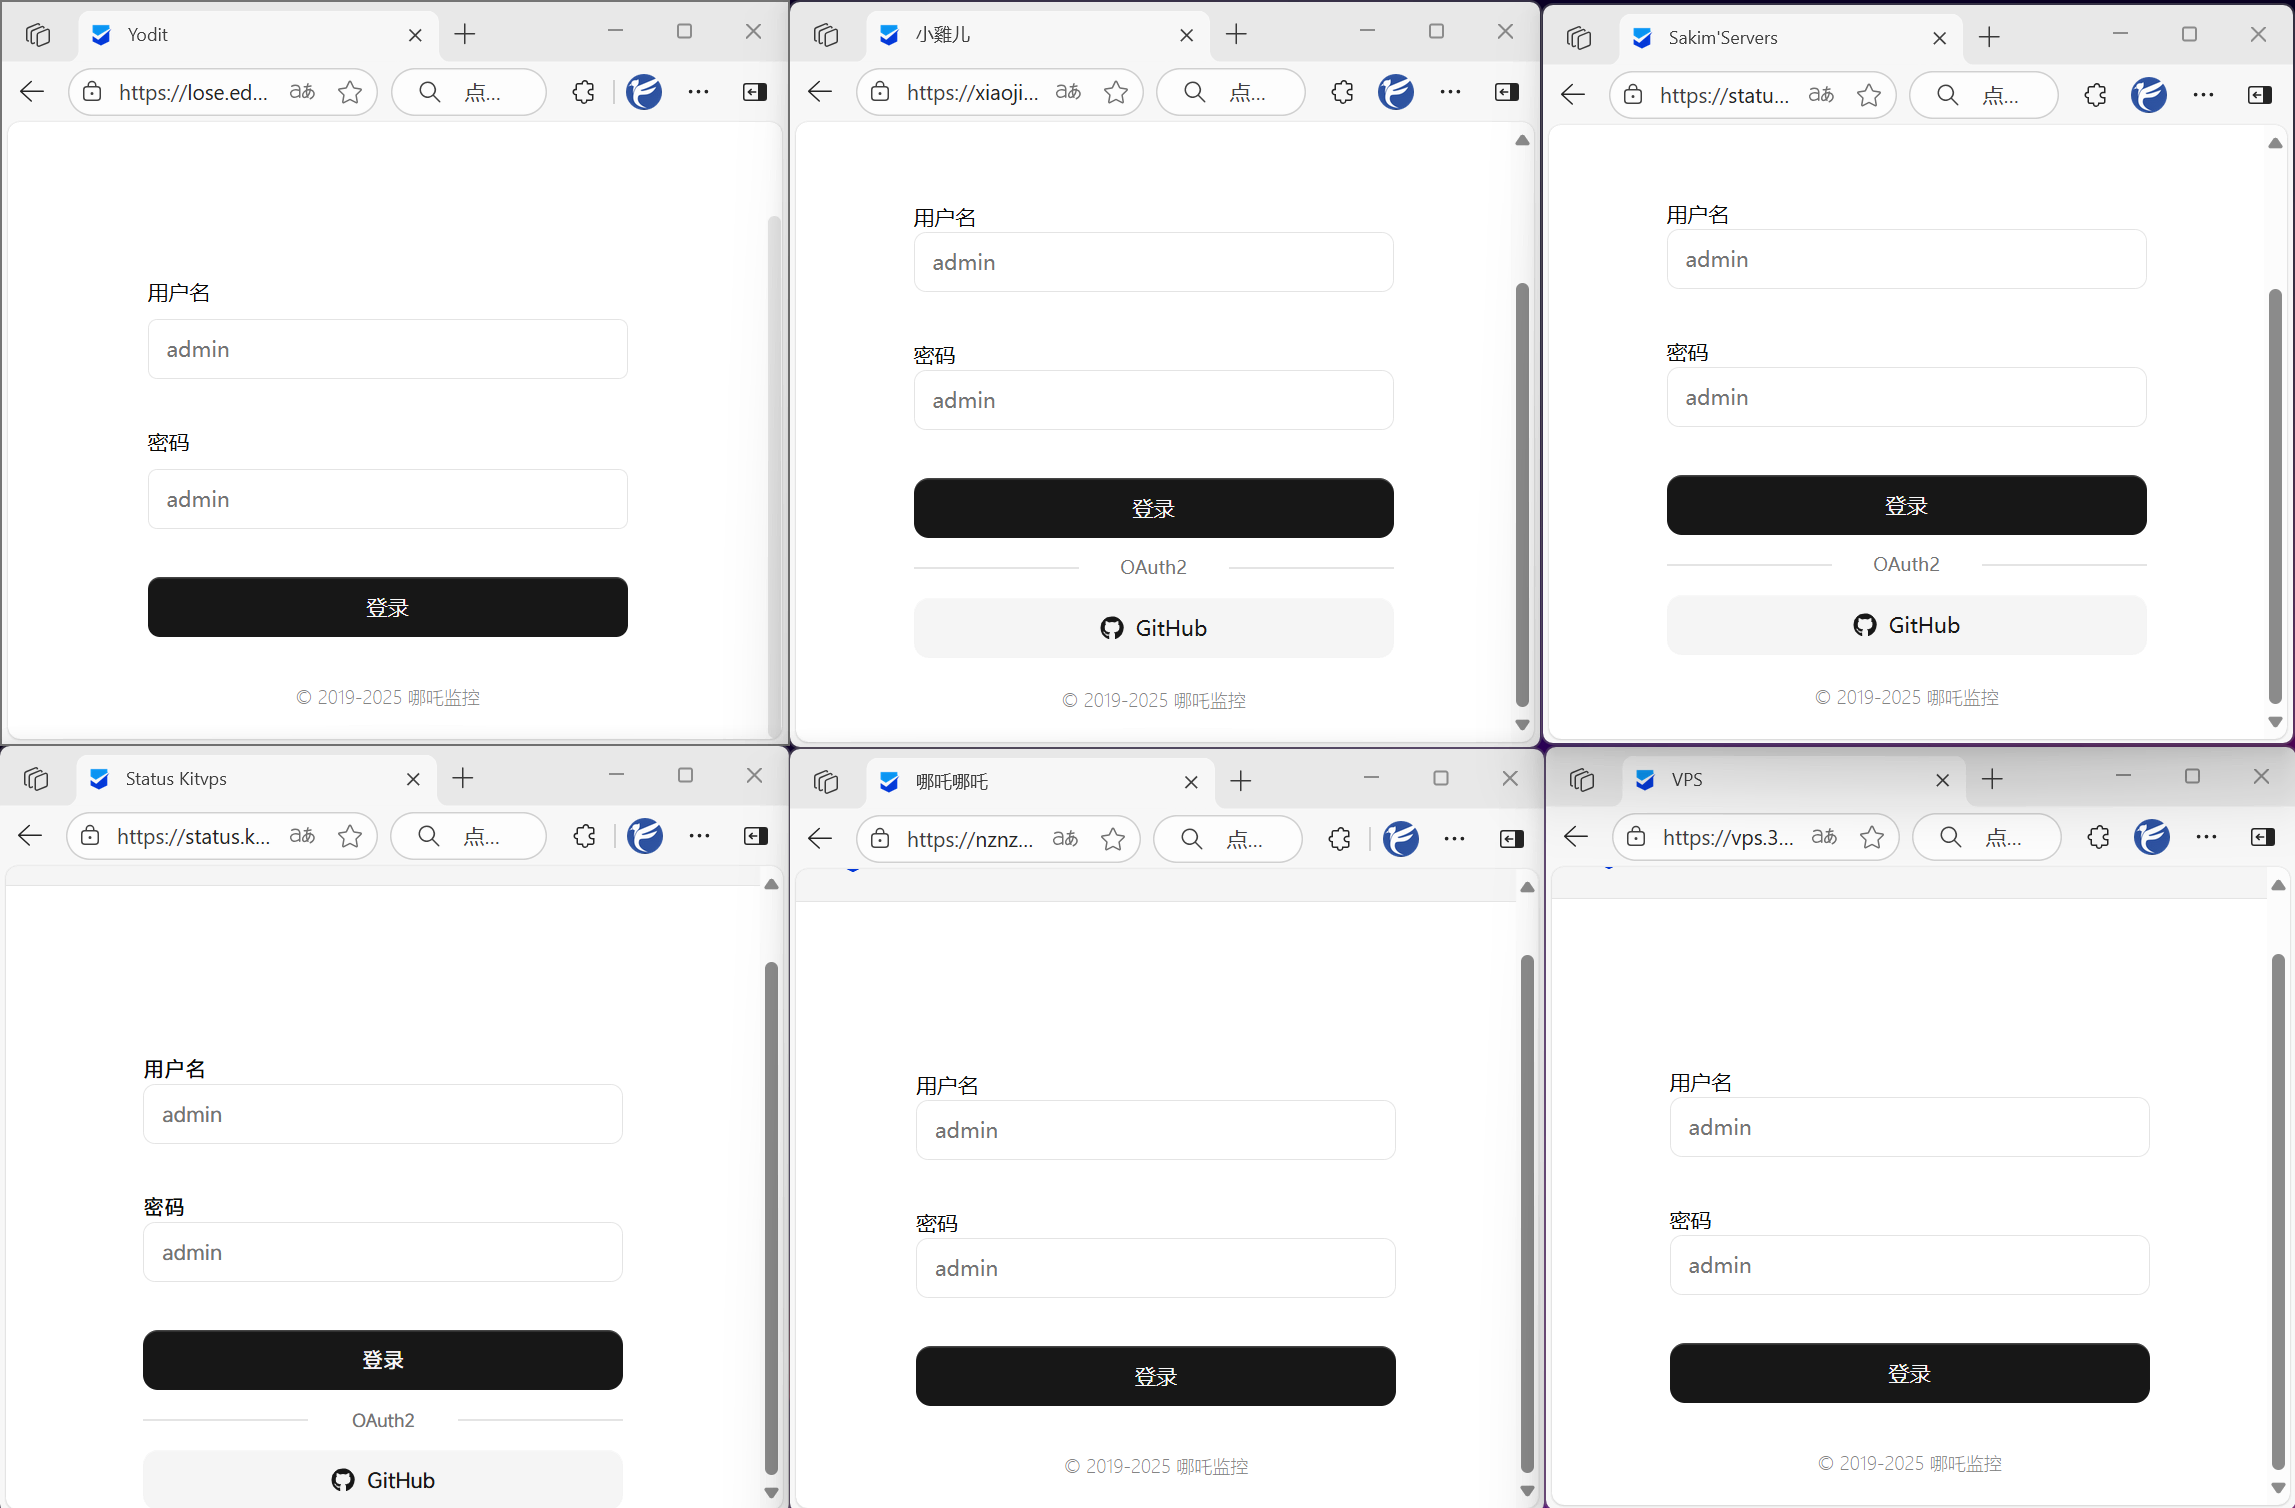
In terms of account protection, the V0 version of the probe allowed GitHub account authorization for login by default, providing an additional layer of security compared to simple username-password login. However, the V1 version only supports username-password login by default, making the backend relatively more vulnerable to attacks.
Although OAuth2 binding was later added to the V1 version, enabling it is cumbersome. After browsing many users’ probe pages on forums, I noticed that its adoption rate is quite low. Moreover, OAuth2 is merely a supplementary login method and cannot enforce its use as the exclusive login method.
Adding Protection to the Nezha Probe Login Page
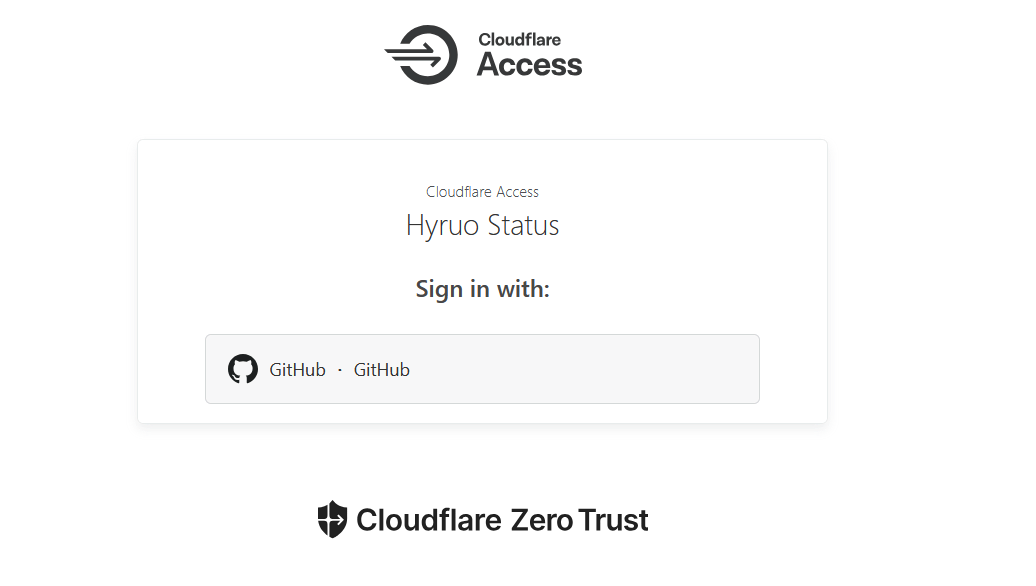
Lawtee had previously implemented access controls for commonly used VPS management panels and NAS management panels (for external access). The main approach was to use Cloudflare Zero Trust features, adding Access policies to ensure that only the user themselves could access these panels.
However, the Nezha panel is slightly different because the frontend does not need to be restricted to “only visible to the user.” Only the backend pages of the probe need access restrictions.
The method to implement this is relatively straightforward:
Log in to the Cloudflare Zero Trust dashboard.
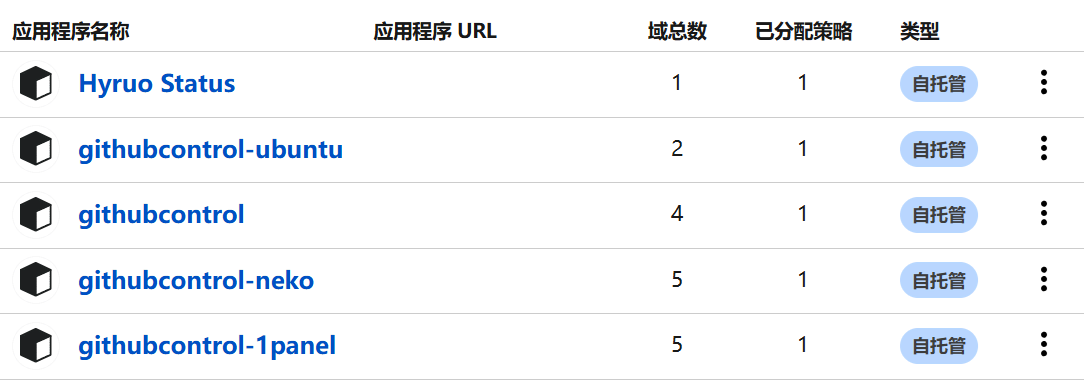
Add or edit a self-hosted application:
- Navigate to “Access” > “Applications”.
- If an application already exists, edit it; otherwise, click “Add an application” and select “Self-hosted”.
- In the “Application domain” field, enter your domain and path, e.g.,
nezha.sample.com/dashboard/*.
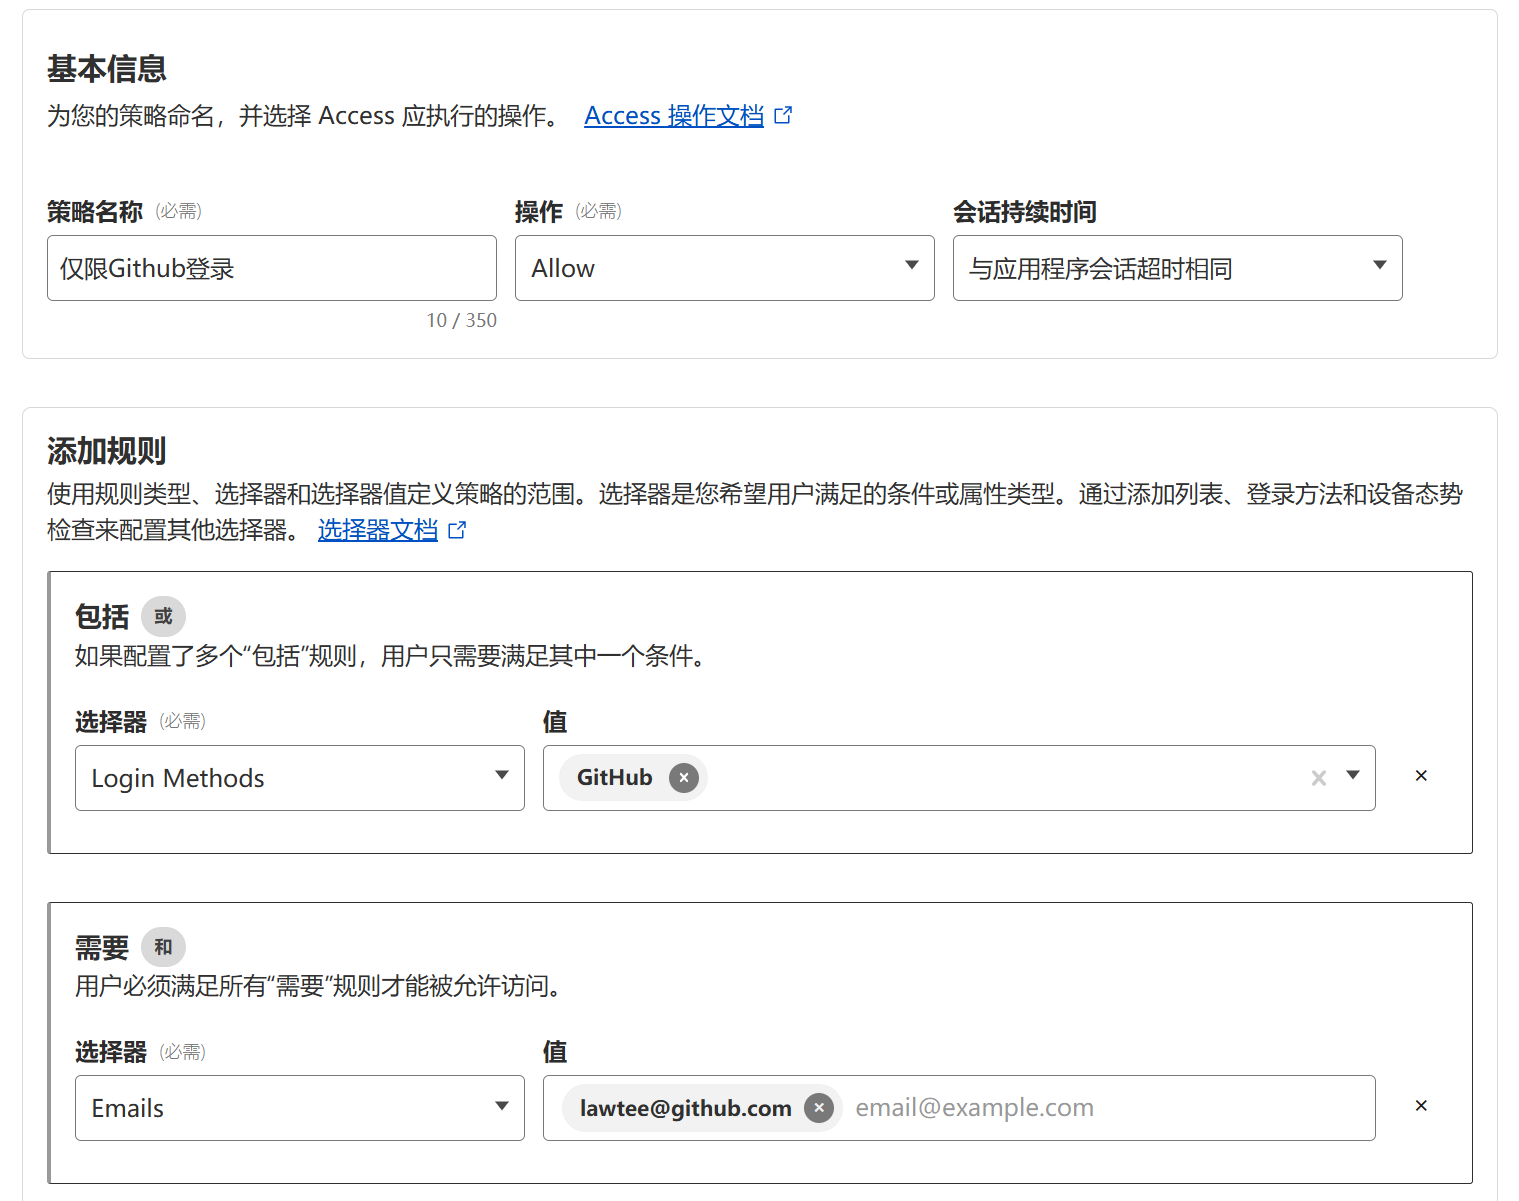
Configure Access policies:
- In the application settings, add a policy. For example, select the “Allow” action and define access conditions (such as based on email, IP, identity provider, or device posture).
- If specific subpaths require different rules (e.g., bypassing certain public sections), additional policies can be added using path matching to prioritize their application.
I previously discussed Access policy settings in another article, so I won’t repeat it here: How to Add Access Control